-
Things in Your House That Secretly Raise Your Power Bill
If your electric bill has felt unusually high lately, you are definitely not alone. Many families are searching for ways to cut costs as utility prices continue to rise. The frustrating part is that some of the biggest energy wasters in your home may be things you barely even think about. From hidden energy vampires…

-
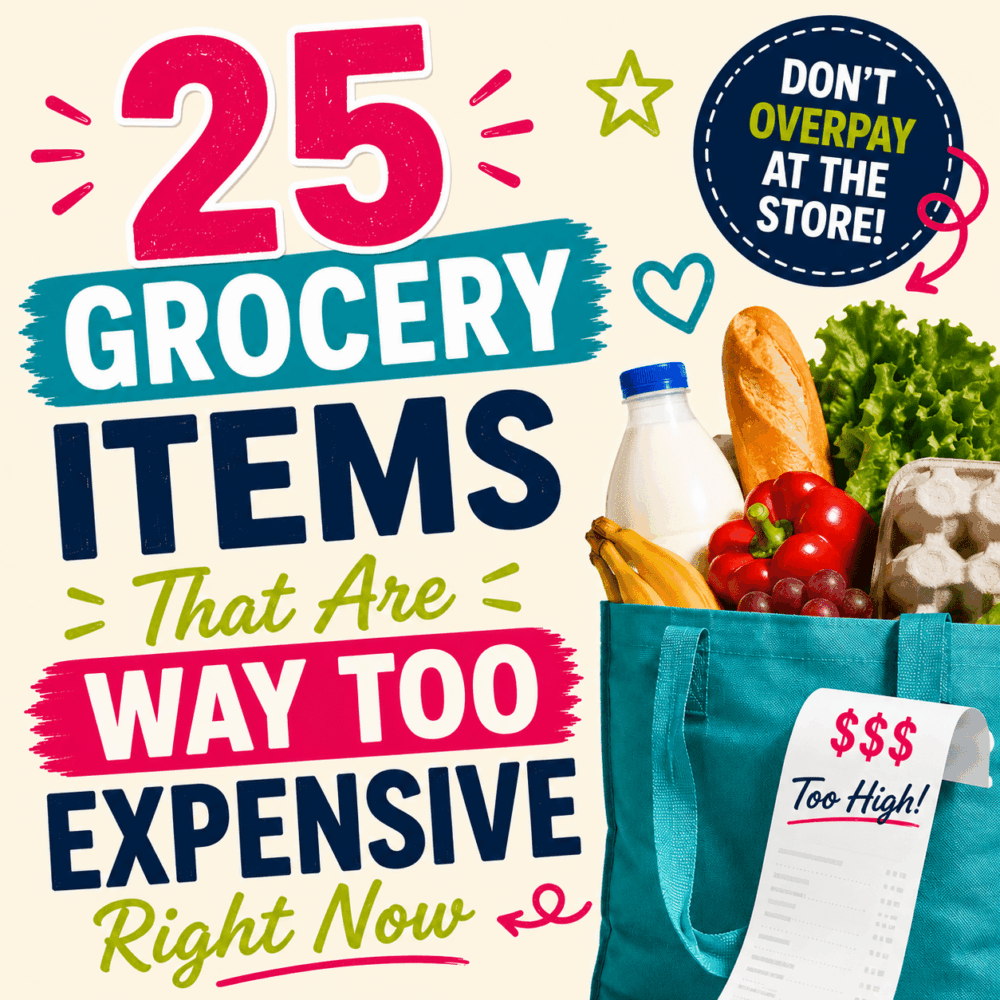
25 Grocery Items That Are Way Too Expensive Right Now
If you’ve walked through the grocery store lately and felt completely shocked by the prices, you are definitely not alone. Many everyday grocery items have become so expensive that families are starting to rethink what they buy each week. From snacks to drinks to convenience foods, grocery inflation has made it harder than ever to…
-
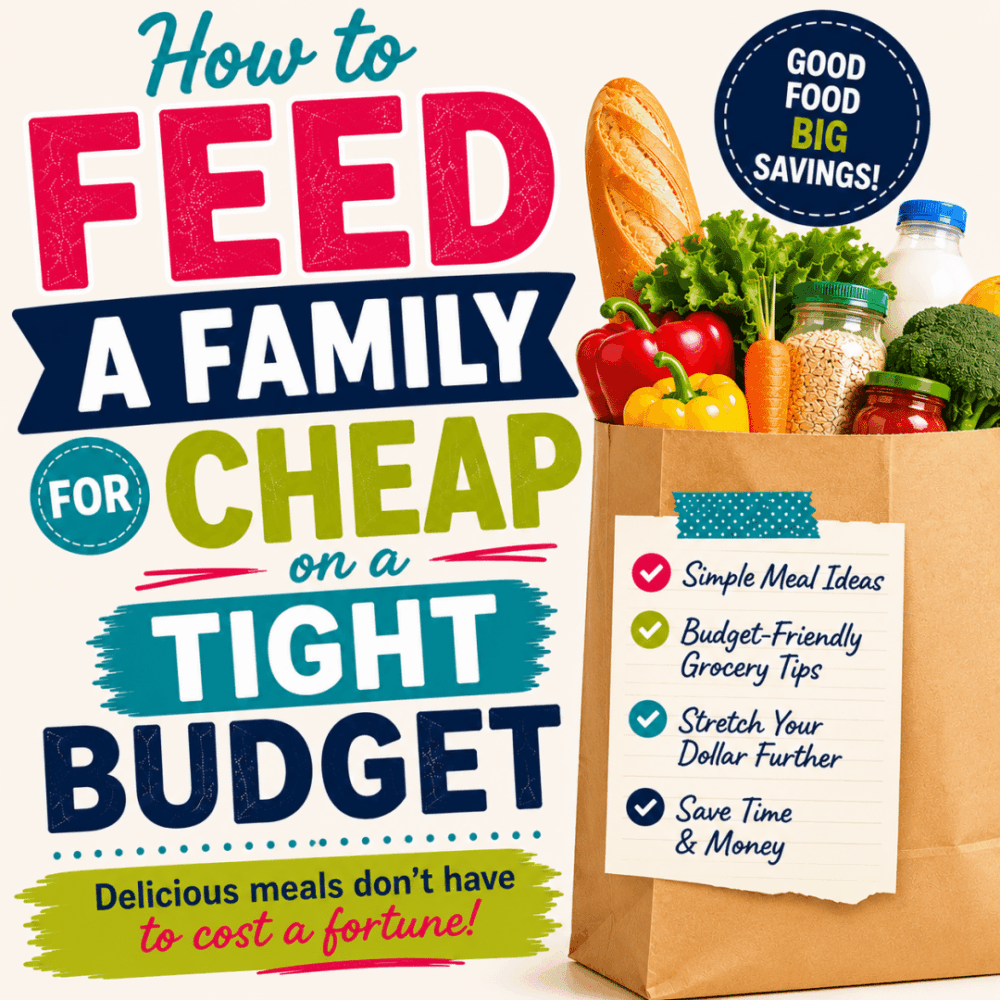
How to Feed a Family Cheap on a Tight Budget
Grocery prices have gotten expensive, and many families are feeling the pressure every time they walk into the store. It’s no longer unusual to spend far more than expected on simple basics like milk, bread, meat, snacks, and produce. The good news is that feeding your family on a budget does not mean serving tiny…
-
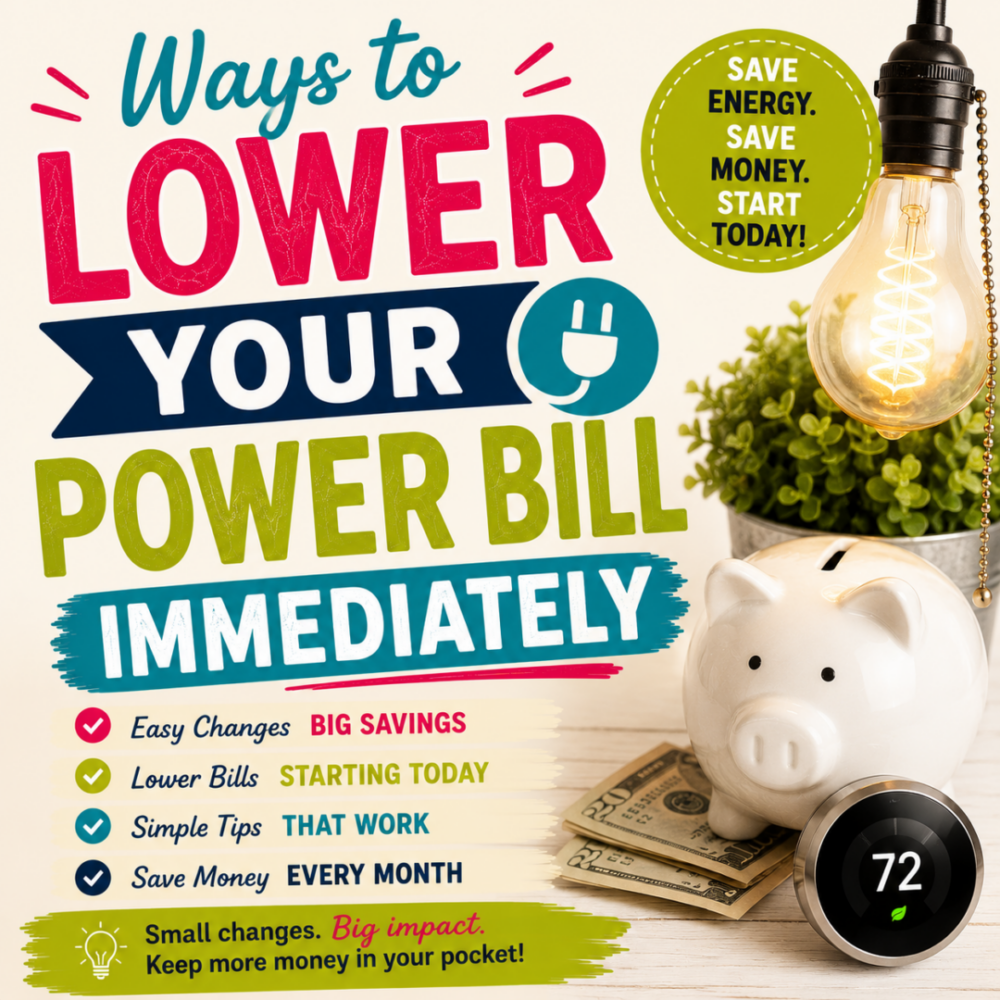
Ways to Lower Your Power Bill Immediately
If your electric bill has been shocking lately, you are not alone. Summer temperatures, rising utility costs, and kids being home more often can cause energy bills to climb fast. The good news is there are several simple changes you can make right now to cut your electric bill fast without making your home uncomfortable.…
-
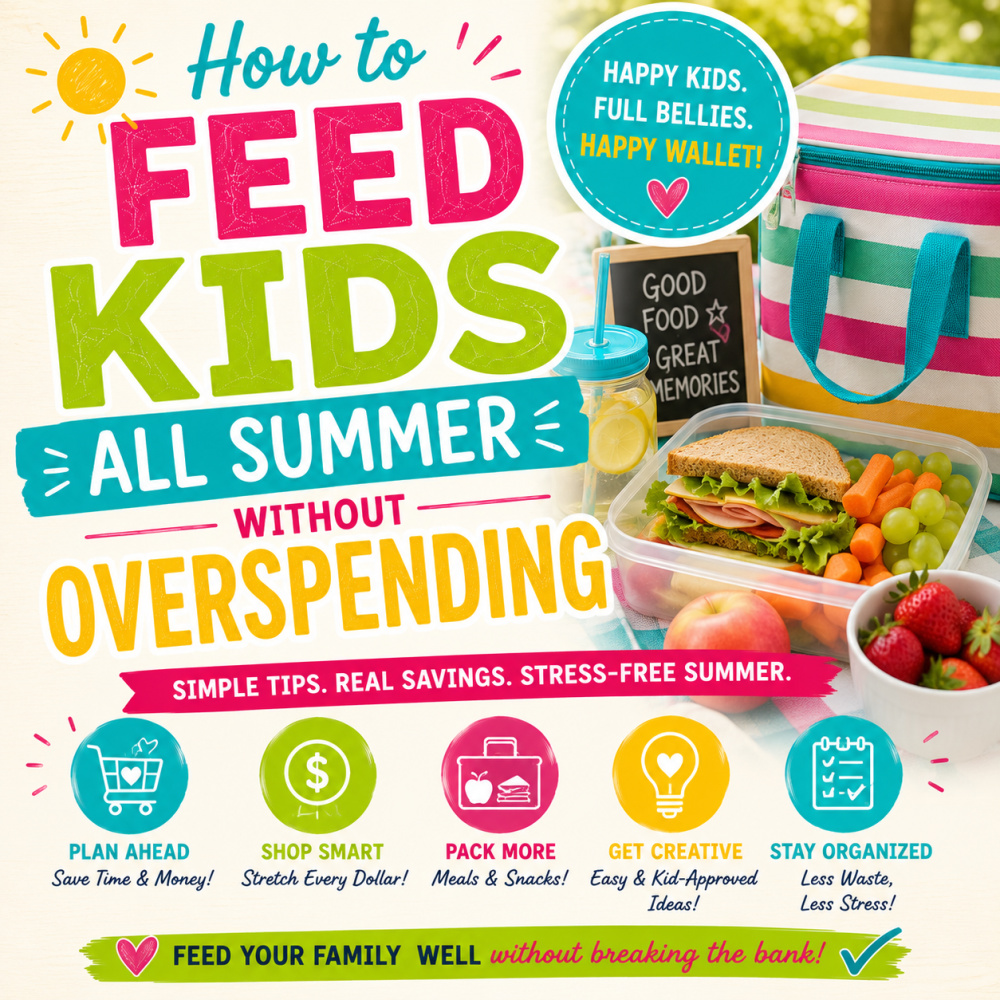
How to Feed Kids All Summer Without Overspending
When summer break starts, it can feel like the grocery bill doubles overnight. Kids are home all day, snack requests never stop, and those quick fast food runs or gas station treats can add up fast. If you’ve ever opened the pantry in June and wondered how everything already disappeared, you’re definitely not alone. The…
-
25 Clever Ways to Reuse Baby Wipe Tubs Around the House
If you have kids, chances are you’ve gone through more baby wipes than you can count. And once those wipes are gone, you’re left with sturdy plastic baby wipe tubs that seem too useful to throw away. The good news? There are tons of smart ways to reuse baby wipe containers around your home instead…
-
Garage Sale Tips: How to Plan a Successful Yard Sale
Planning a garage sale can be one of the fastest ways to declutter your home and make extra cash at the same time. But if you’ve ever hosted a yard sale that barely brought in shoppers, you already know that a little planning makes a huge difference. From choosing the best day to price items…

-
Why Groceries Are So Expensive Right Now (And How Families Can Still Save Money)
Groceries have never felt more expensive. Between rising food prices, supply chain issues, and the cost of convenience, families everywhere are feeling the pinch. If you’re stressed every time you go to the store, you’re not alone. The good news? You can still save money on groceries without extreme couponing or eating nothing but beans…

-
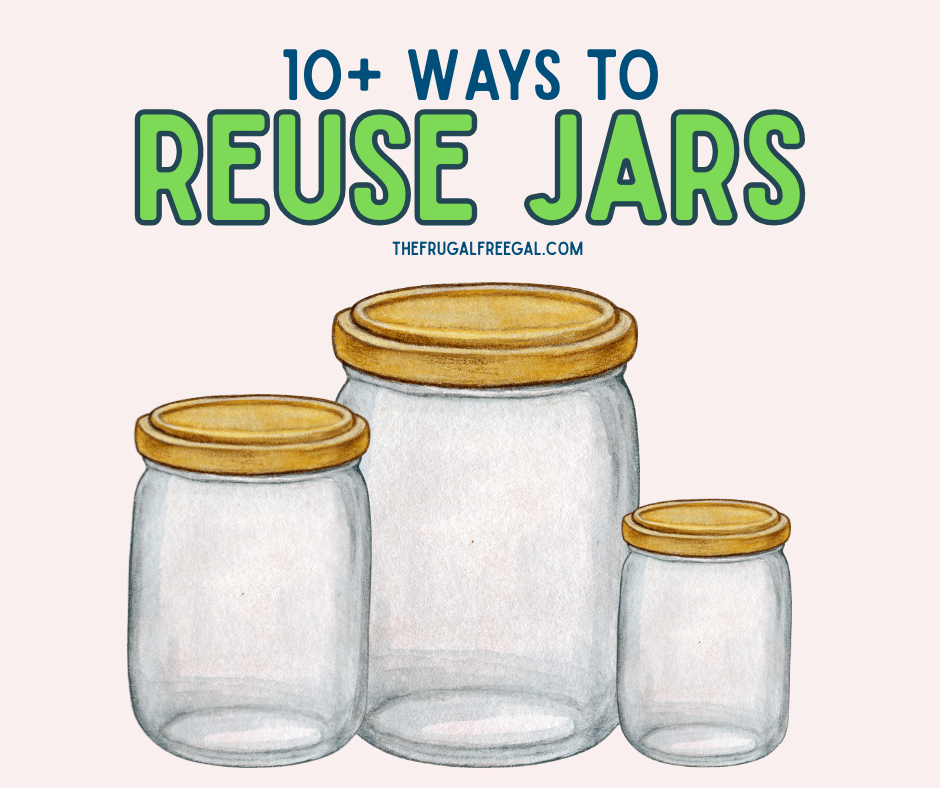
10+ Ways to Reuse Jars
In today’s era of environmental consciousness, frugality isn’t just about saving pennies; it’s also about making sustainable choices. One simple yet powerful way to achieve both these objectives is by repurposing jars. Before you toss out that empty pasta sauce or pickle jar, consider the numerous ways it can be reused to not only save…
-
50 Most Valuable Books to Look for at Thrift Stores
Important note: Before buying a book you think might be valuable, always do your own research. Check recent sales on sites like eBay, verify edition and condition, and look for any special markings or signatures. Book values vary widely based on demand, rarity, and condition — a quick check helps you avoid overpaying and ensures…